DIY Valentine’s Day Farmhouse Sign

I love decorating for Valentine’s Day and Farmhouse decor! Rustic looking wood signs are my favorite. I looked for a cute sign for above my stove but I couldn’t find one. What’s a girl to do?! Make one, course! Here is a rundown of how I did it in case you want to make one for yourself (and why wouldn’t you?)
Equipment:
- Vinyl cutting machine (I use the Cricut Explore Air 2 and I have LOVED it)
- Table saw (to cut the board and side pieces, you can also ask it to be cut to the size you want at Home Depot or Lowes)
- Clamps (for clamping the sides while the glue dries)
- Nail gun (you can use a hammer and nails if you are brave)
Materials:
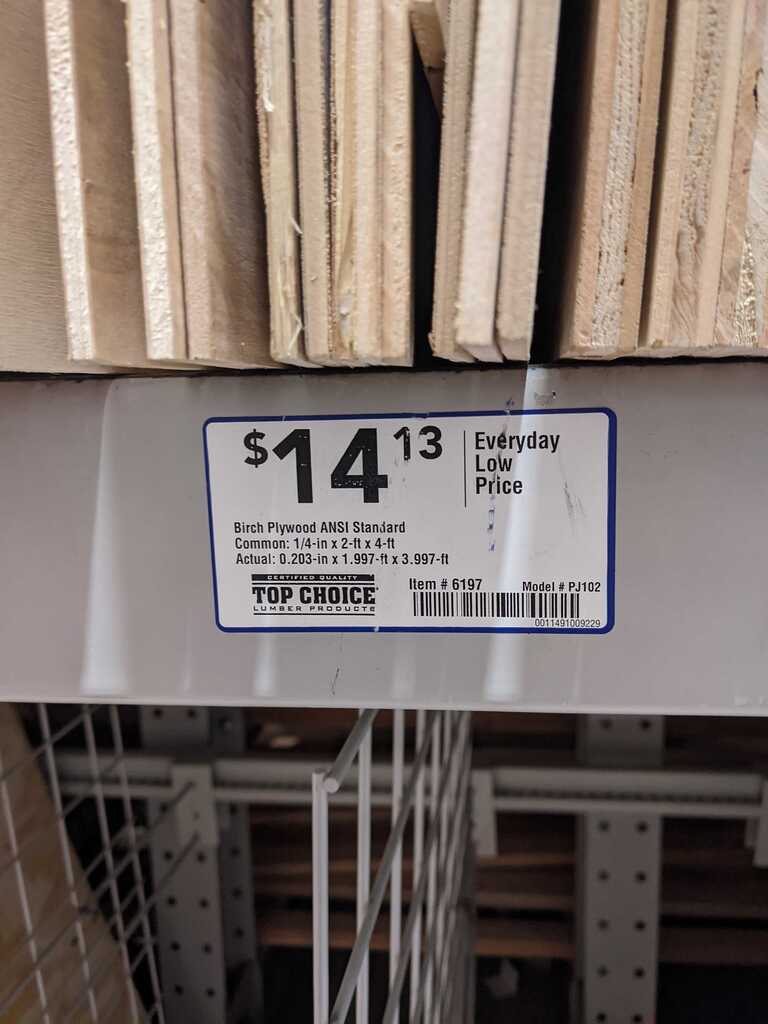
- Birch Plywood 1/4″ x 2′ x 4′
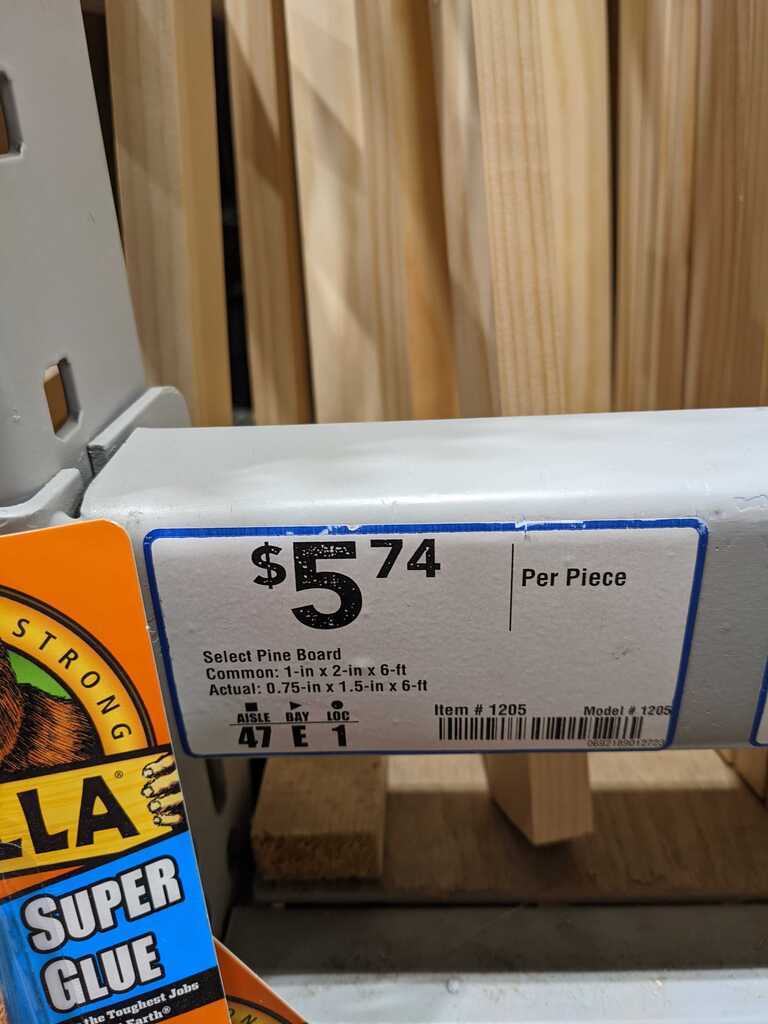
- Pine board trim 1″ x 2″ x 8′
- Vinyl (I just used some scrap vinyl)
- Transfer tape
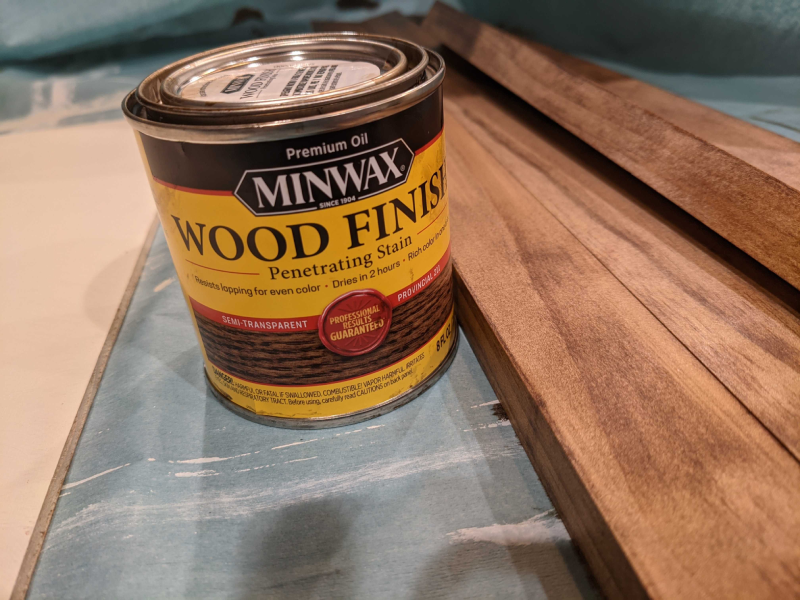
- Stain (I used Mirawax in Provincial)
- Shell and White acrylic paint
- Paint brushes (I used this one for painting the entire board and for “white-washing” the side boards.)
- Wood glue
- 5/8″ brad nails (or a hammer and nails if you don’t have a nail gun)
- Command strips for hanging (I use these and I LOVE THEM!) Or picture hangers if you plan to hang the picture.
- Drop cloth
Let’s get started.
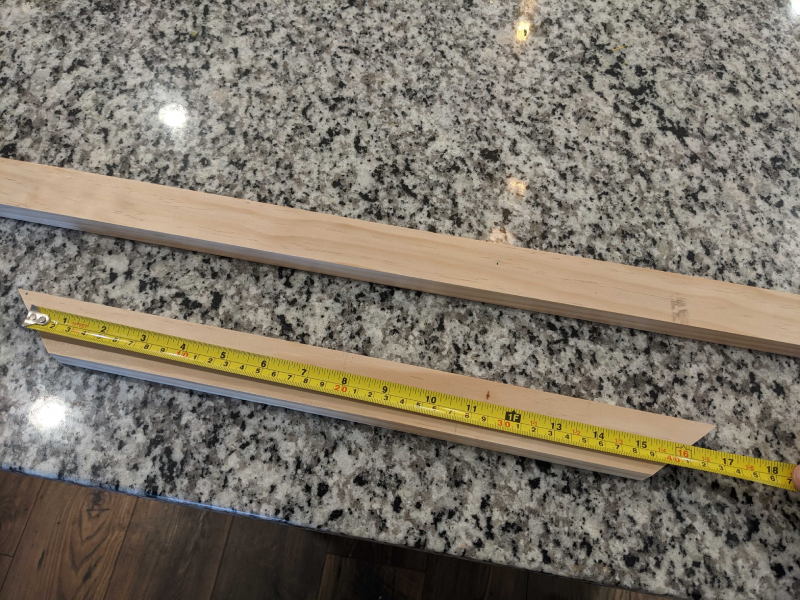
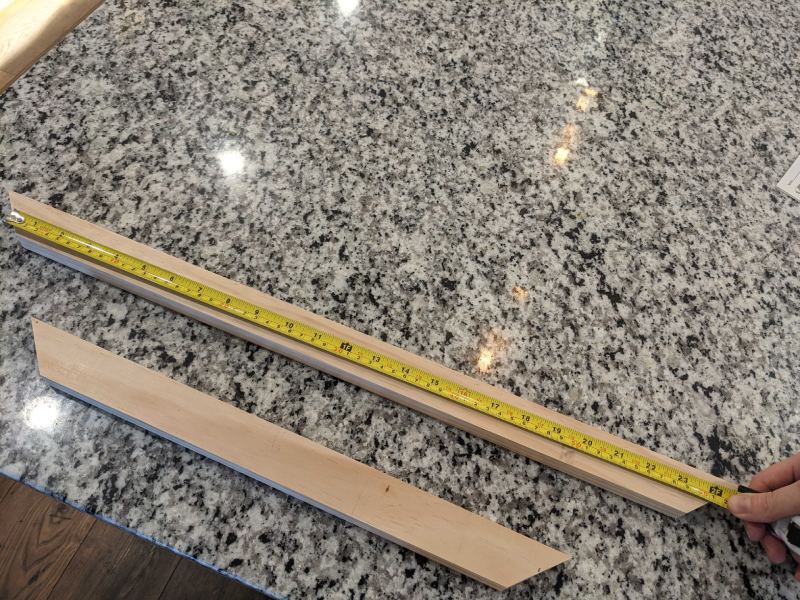
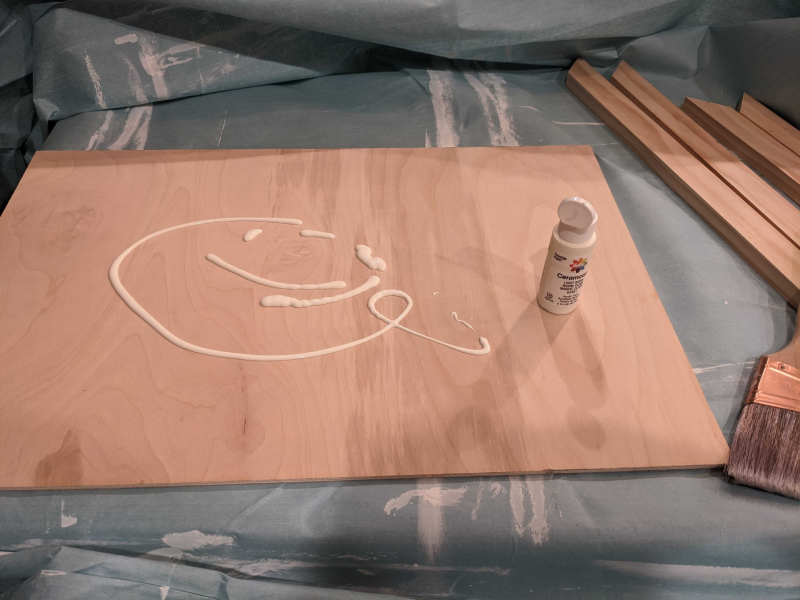
Cut the materials. The first step is to cut the materials. Mr. Darcy cut the plywood board into three. Each board was about 2′ x 16″. He then cut the pine trim into sections and angle cut the ends so that they would fit together (Measure from the center, see the picture). Another option is to keep them square, but you will have to figure out the measurements for the boards because we used angles and that will be a different measurement.
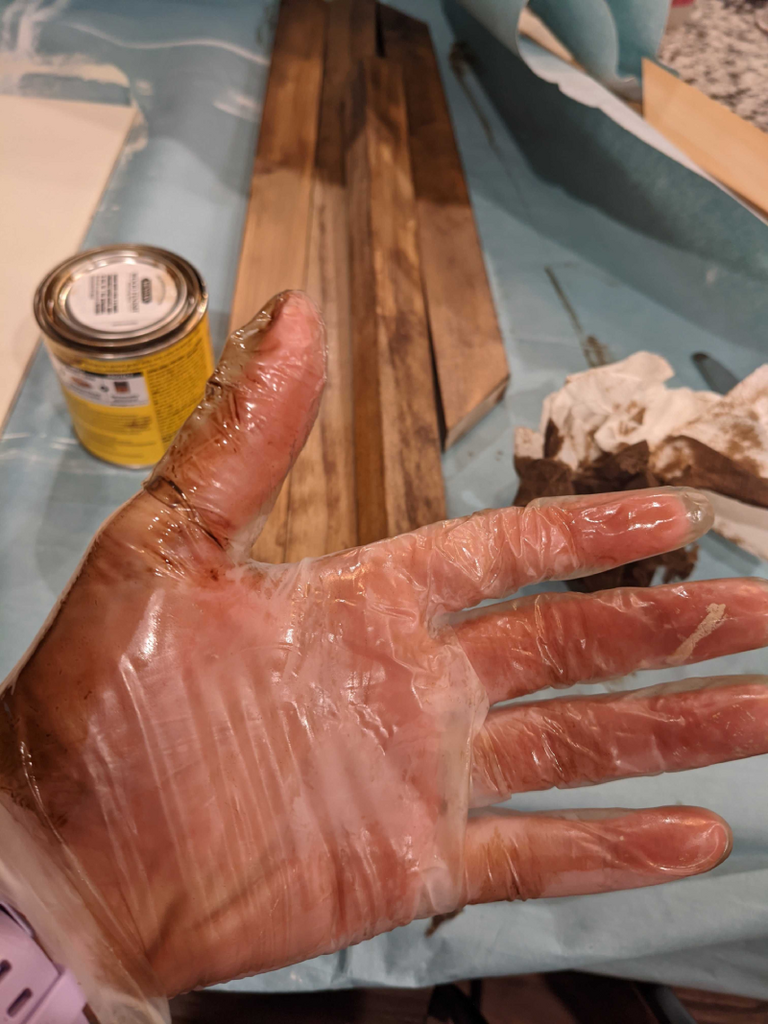
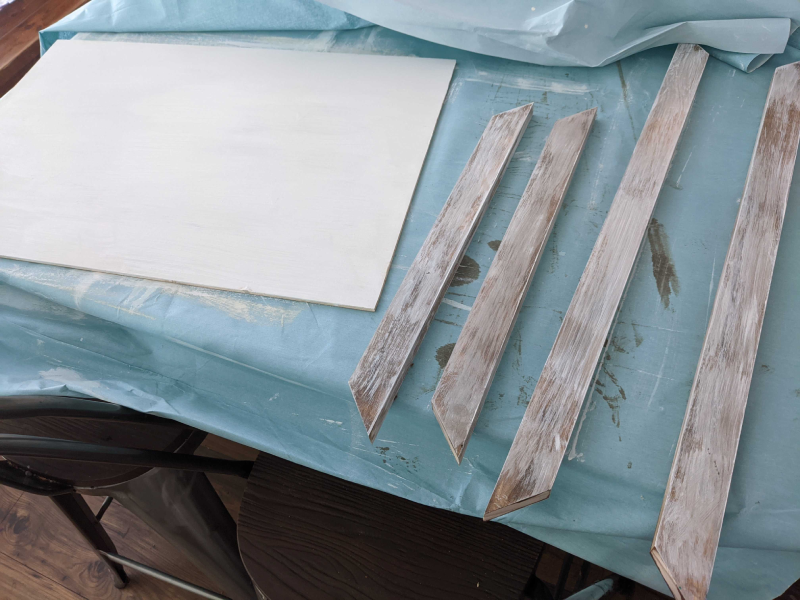
Paint the board white and stain the trim for the sides. For this step, I used the Purdy brush for the white paint. I ended up doing two coats, but if you want a more farmhouse rustic look, you can get away with some streaks. For the stain, I used a paper towel, it worked! Use a light hand with the stain. You don’t need a ton. Just make sure it all gets covered. I made sure to wear gloves. Trust me! I used a drop cloth, all of these materials will stain things. I have had a lot of drop cloths that leak through, this one is my favorite and hasn’t let me down!
“White wash” the side trim. I let the stain dry overnight and the next day I applied a thin coat of white paint to the sides. I didn’t add any water! The beautiful look came from a thin coat with the Purdy brush.
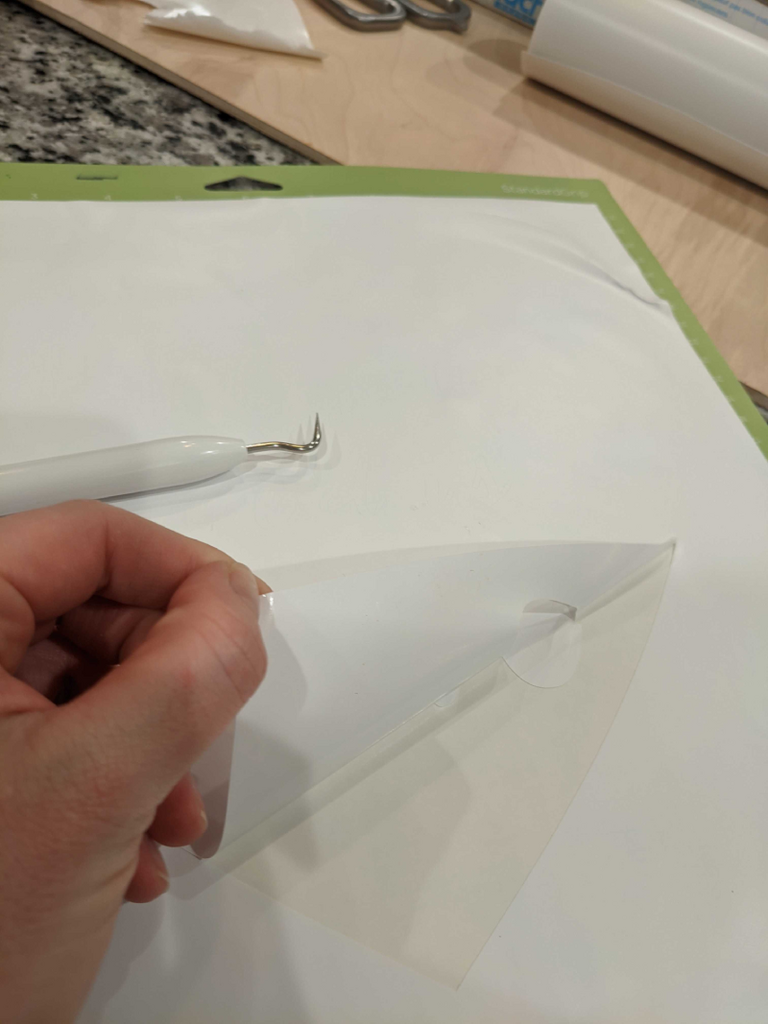
Cut the stencil on a vinyl cutting machine. I used the Cricut Explore Air 2. I will have a SVG file to share soon! Once the stencil is cut, you will remove only the middle heart, leaving the letters and the outside of the heart. You will then apply transfer tape to the top of the design. This is important because if you try to apply without transfer tape, you will not be able to get the proper spacing for the letters and the heart. Transfer tape is an amazing invention, hahaha.
Apply the vinyl to the dried, painted board. Measure the center if you want to be precise. I didn’t do this but if you’d like it centered, do this now before you apply it.
Paint the board. This is the fun part! I added some white and made it look streaky. You notice I don’t ever sand this, but I want a farmhouse look, this is how I achieve that!

Remove the vinyl once the paint is dry. Do this slowly and carefully. I used my hands because I didn’t want a tool to scratch the paint.
Assemble the frame. Make sure everything is dry. I used wood glue at the seems and clamped it together overnight.
Nail the frame onto the board. I used a towel underneath the painting. You’re so close, you don’t want to damage anything! You can use a nail gun or try doing it by hand. MAKE SURE THE NAILS ARE THE RIGHT SIZE. You can damage the whole thing with the wrong sized nails. Here’s what we used:

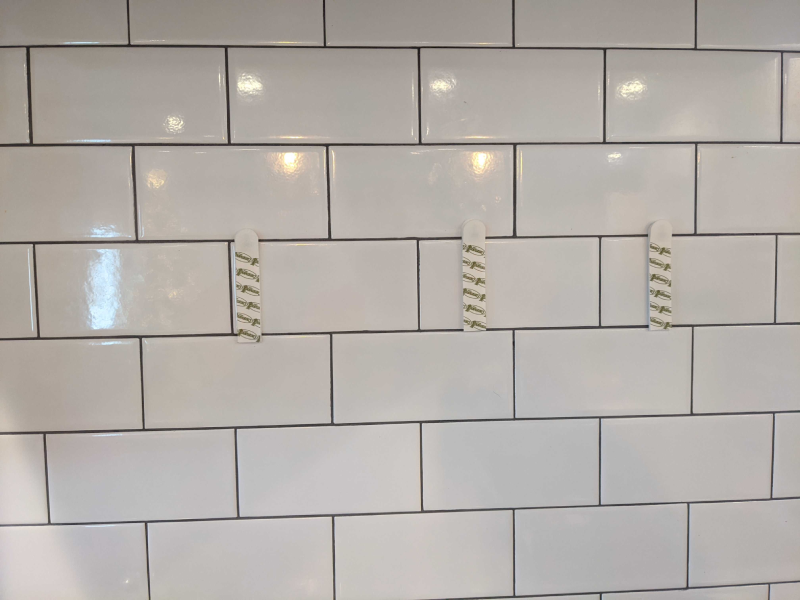
Hang the picture. I used these command hook stirps. They are a lifesaver! If you end up making several of these pictures (for different holidays) you will be able to easily replace the pictures year-round! The velcro snaps together. You will be able to keep one half on the wall, the other half will stay with the picture so it’s easy peasy to cycle through your decor! I haven’t found anything that will hold this well damage-free, either. It’s amazing.
Here is a video tutorial:
Enjoy!
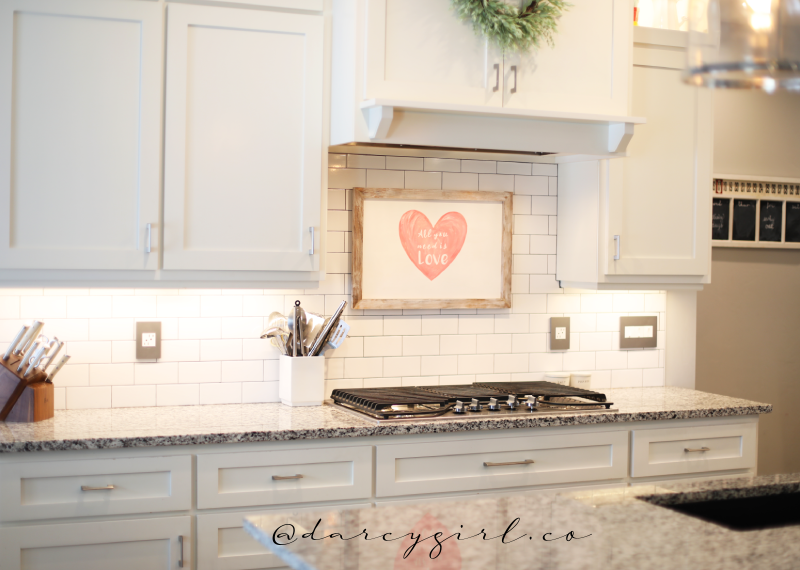
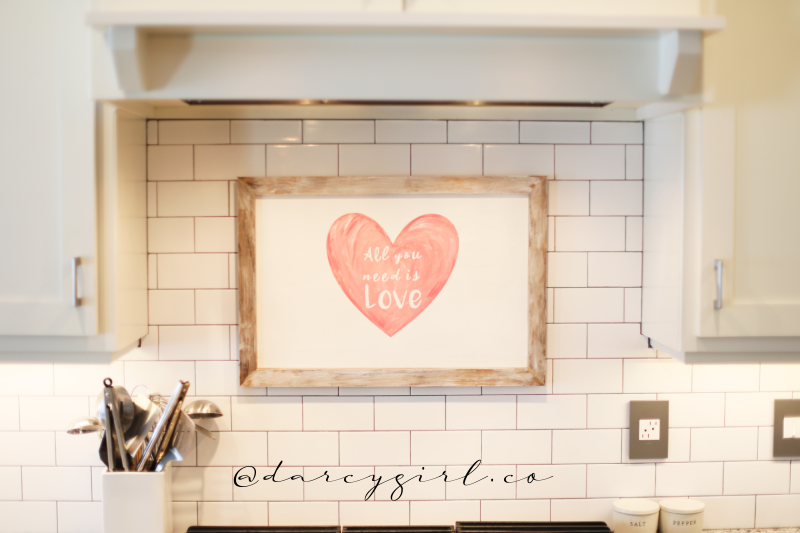
I hope you love your new Farmhouse sign as much I do! Let me know if you make one. Tag me on Instagram at @darcygirlco!